Depending on vacuum type and design, the assembling process will differ. Here we describe a typical process for the creation of upright vacuums with front lights.
Parts
Subcontractors make the majority of upright vacuum cleaner parts as subassemblies or individual parts; they are made according to specifications from the vacuum manufacturer. The parts are first inspected in the factory and then packed in bins that can be shifted to the assembly line when required.
Injection molding of huge plastic parts is normally done by the vacuum companies themselves. These include handle parts, the bag’s connections, attachments that come with the vacuum cleaner, the exterior housing and wheels, and a dustbin for bagless models.
The vacuum factory also makes rubberized parts such as gaskets, O-rings, and the bumper around the edge of the housing.
Manufacturing Procedure
Making the Plastic parts
Most of the plastic parts are first designed with computerized drafting and design systems (CADD). The parts are shaped in a die–a two-part steel mold–which is placed in an injection-molding device.
Small plastic bits are melted in a heating vat and dyed with pigments during the melting process, or they are bought in the preferred color.
After melting, the plastic is injected into the chamber of the injection molding device under high heat and pressure, filling the empty spaces within the mold. As the mold opens, the plastic hardens as it is introduced to air despite the pieces being still hot to touch. The hardened plastic part then falls into a bin as the mold’s two halves separate. The pieces are then stored in bins that can easily be moved to the assembly line when required.
The injection process produces whatever desired number of similar plastic parts. The mold is then removed from the machine and another one is inserted; another part’s supplies are made as the process happens all over again.
The assembly process
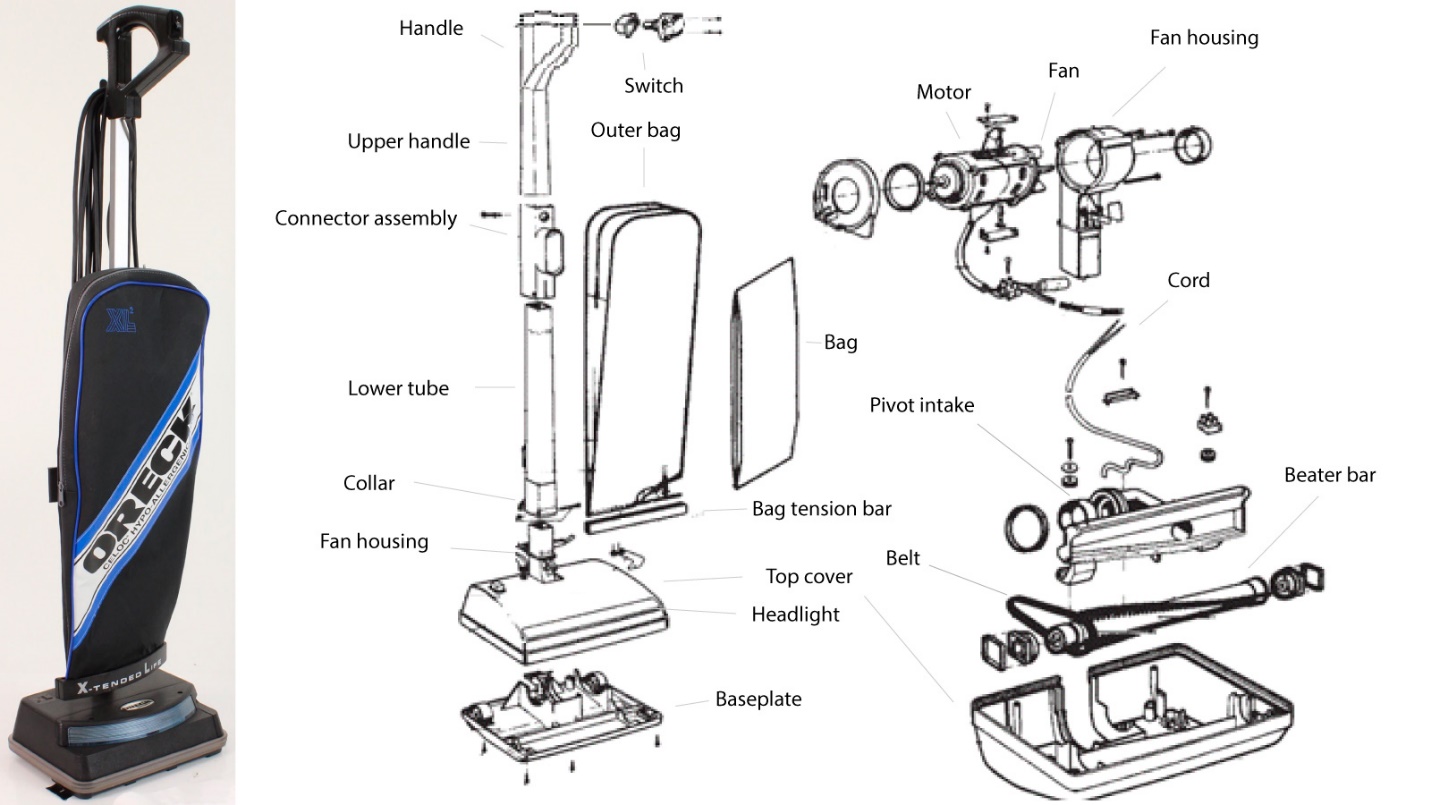
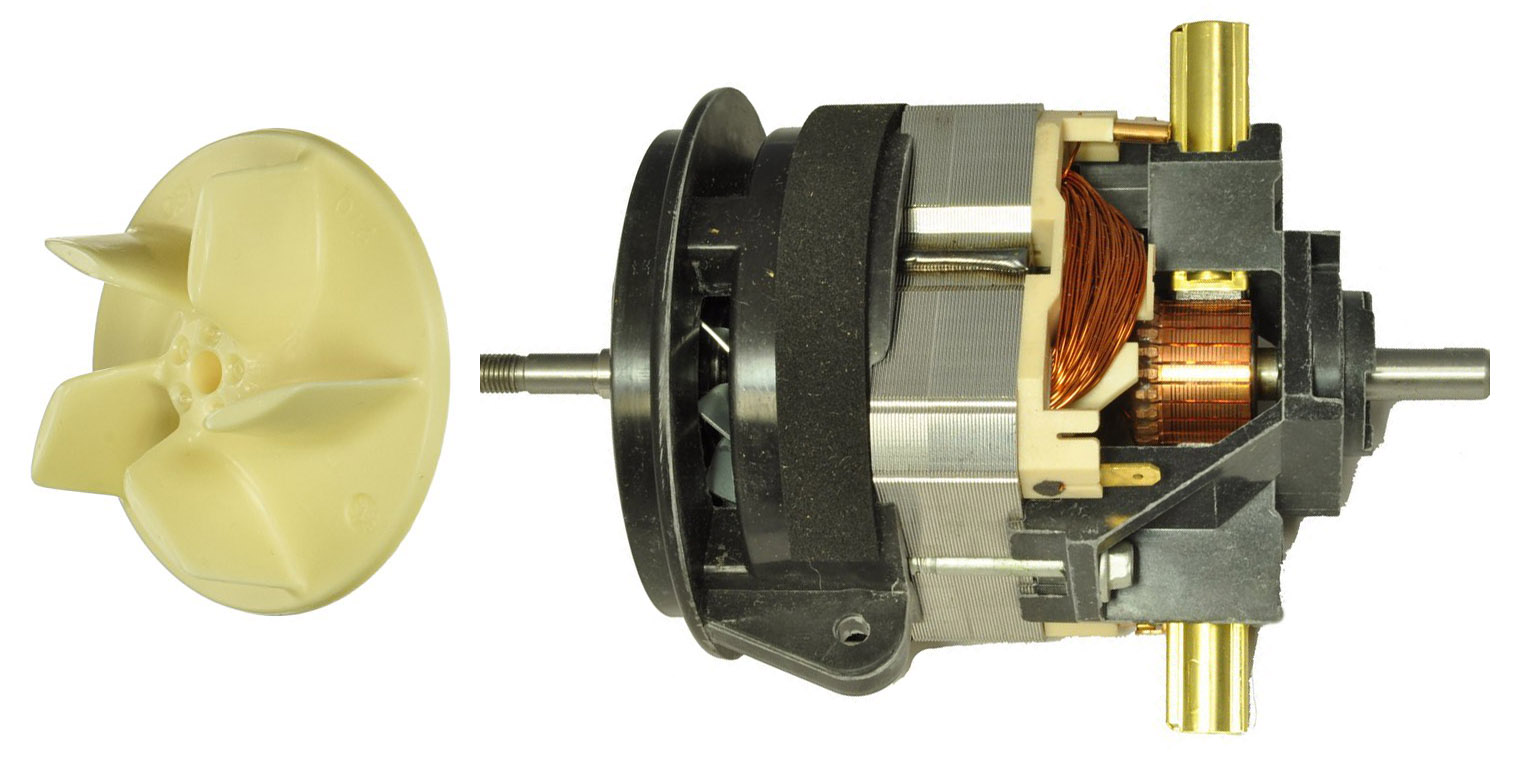
The vacuum cleaner moves along an assembly line as workers connect individual parts. The process begins with setting the fan onto the motor pulley and fixing it with a nut.
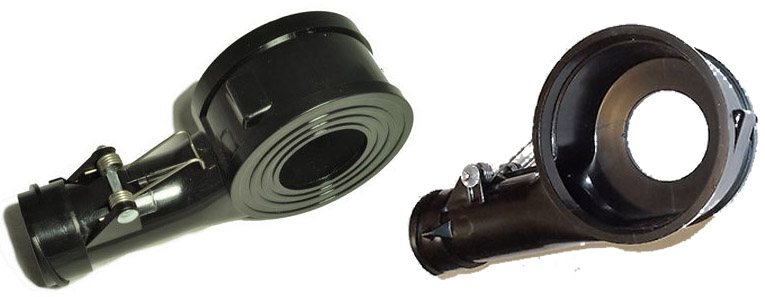
Then the fan motor goes into the fan housing. It has a protrusion that will match a cavity in a base plate when the vacuum is in an upright position and lock it in this position. There is also a retaining spring attached. It will hold the bottom part of the outer bag.
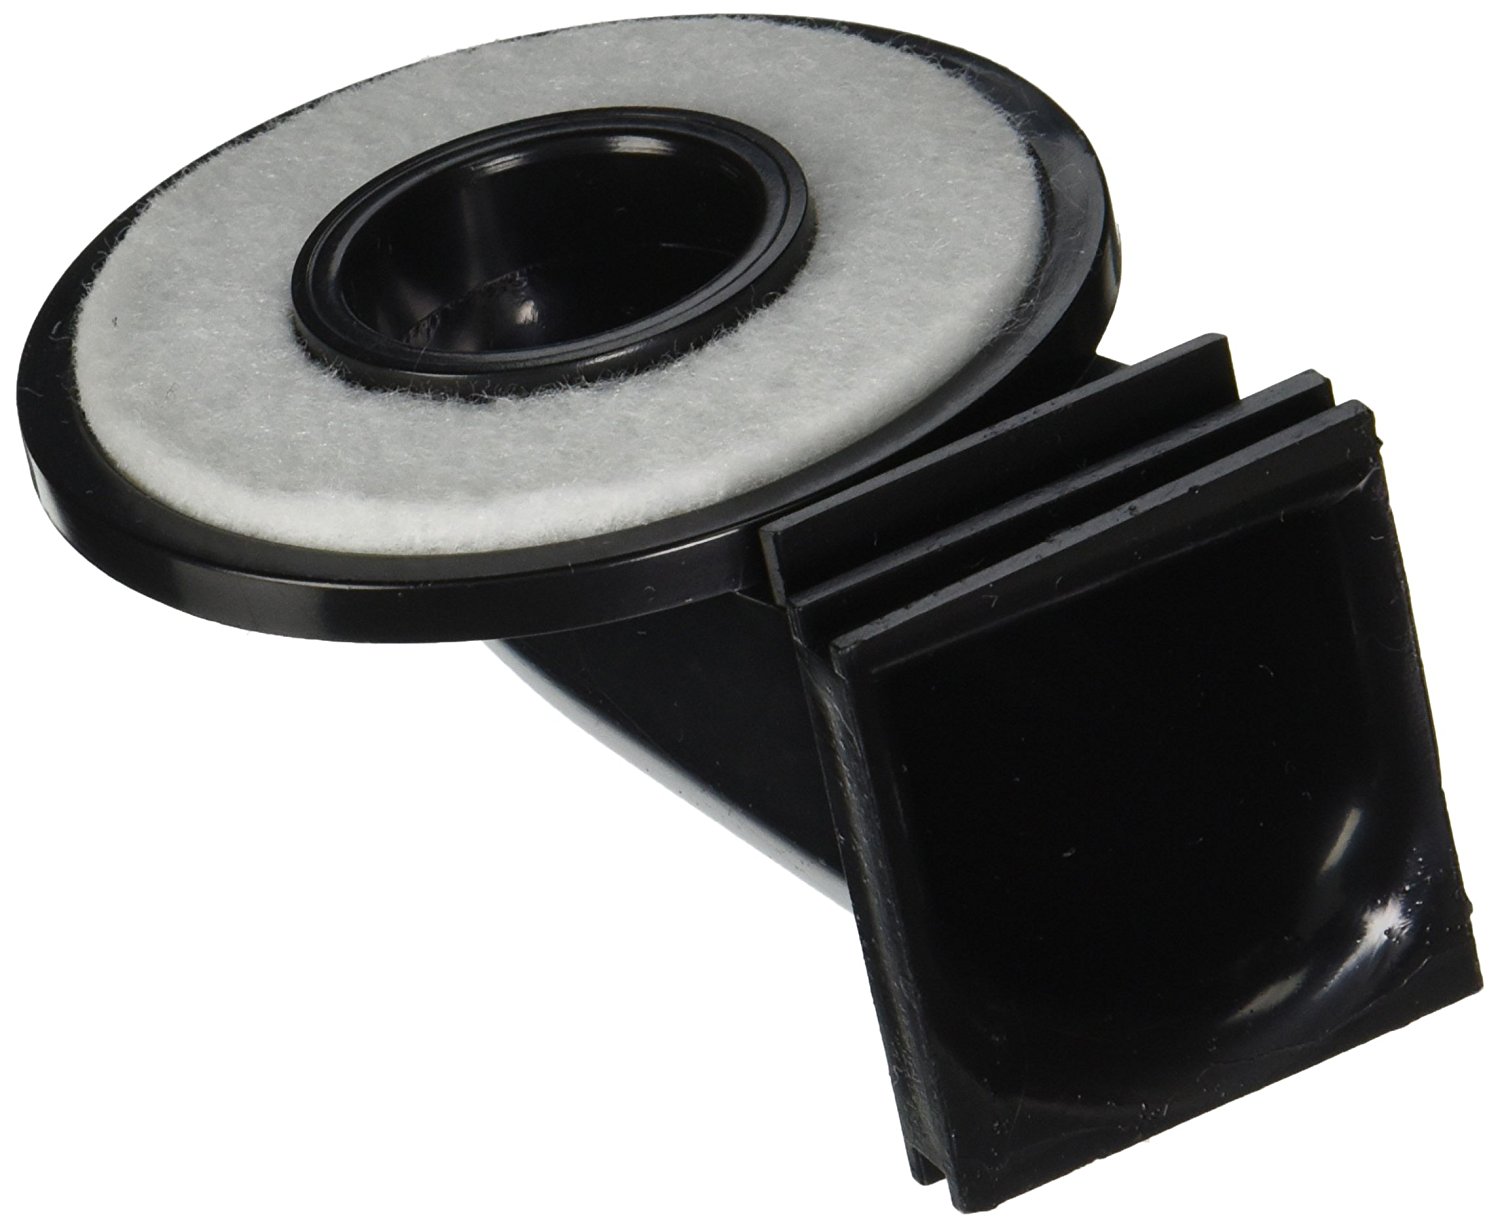
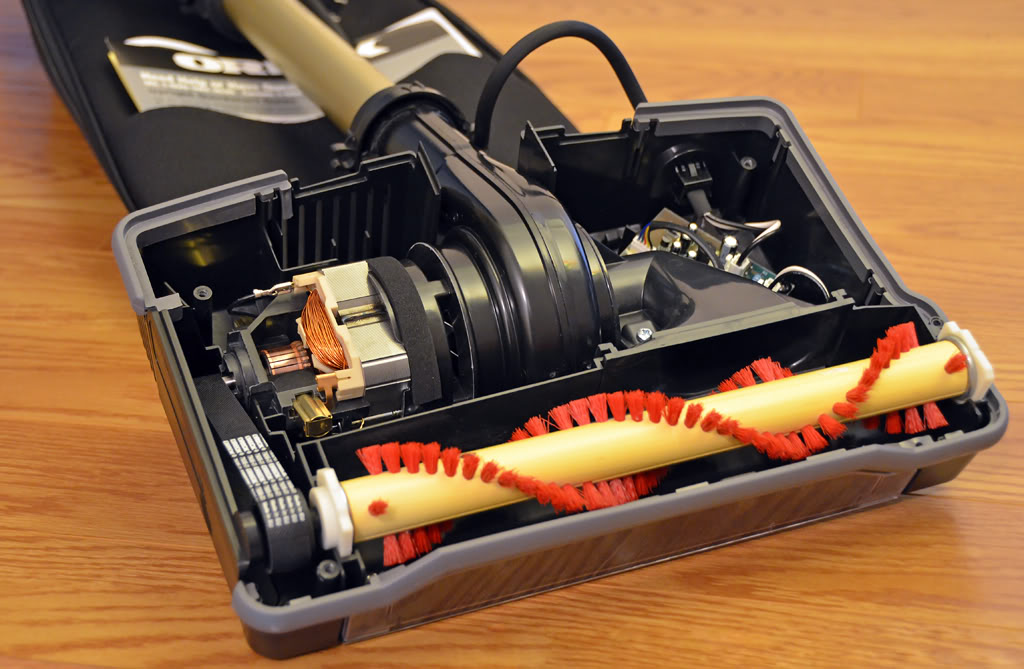
The motor assembly is set into the molded plastic base along with the pivot intake and fastened with screws.
Electrical connections are made from the motor to the electrical cord and from the motor to the fan and light. The front of the base has a socket where a lightbulb is installed. A plastic housing that completely covers the motor and fan and makes up the top of the vacuum cleaner is snapped into place. It has a clear a plastic panel that allows the light bulb to shine through and a rubberized bumper wrapped around its front and sides.
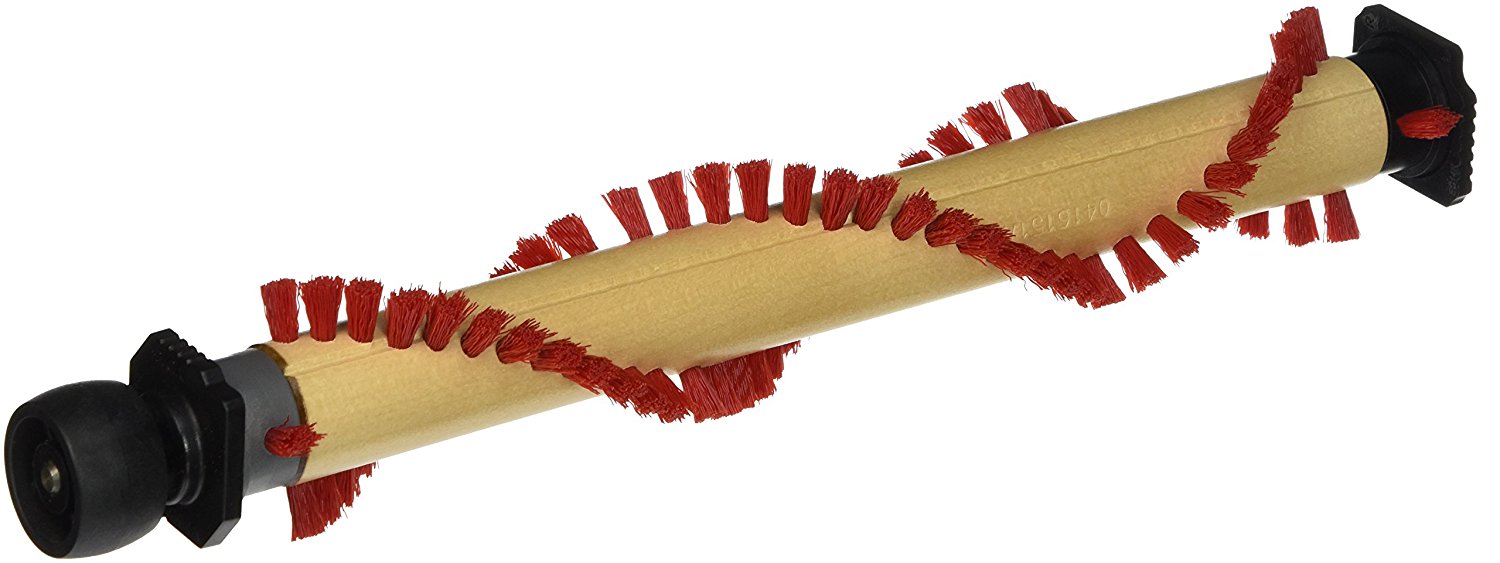
The beater bar (brush roll) is then pulled from a bin and placed into fixed notches in the front side of the base; the bar has already been fitted with brushes (a subassembly).
A rubber drive belt is pulled over a motor pulley and belt guide underneath the base.
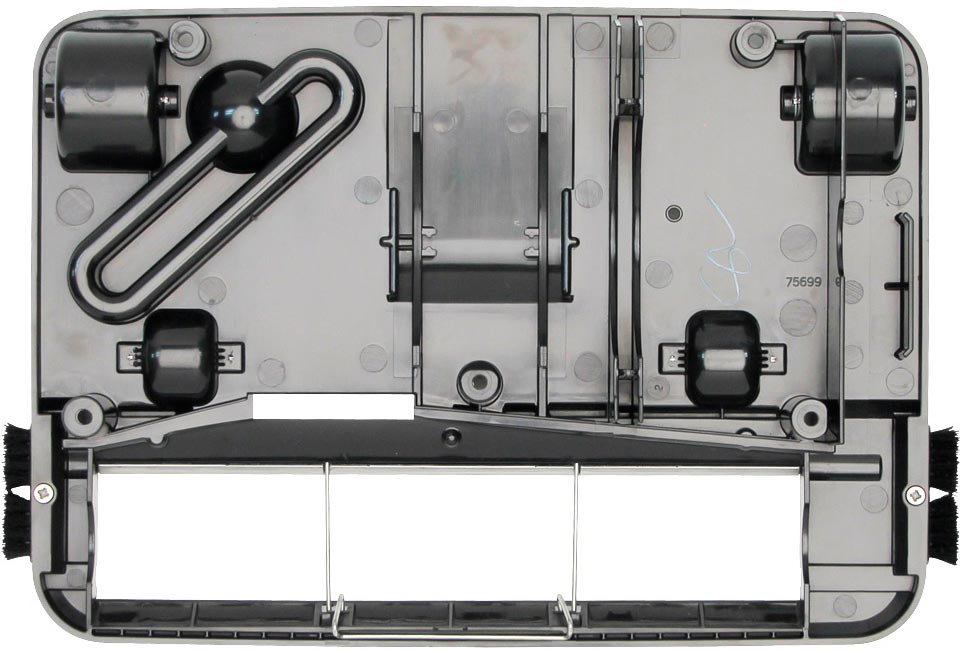
The next part, the base plate, is a subassembly with small rollers and openings where the brushes and beater bar release dirt by agitating the carpet during operation. It is fastened into notches over the underside of the belt and pulley.
A lower tube is then slotted into a tube of the fan housing and fastened with a collar. A plastic connector assembly that will hold the top end of the bag is then put on the top end of the lower tube and fastened with another collar.
The outer bag bottom is latched with a tension bar and the bag is attached to the connector on the top and to the retaining spring on the bottom.
A switch close to the top of the handle controls the machine’s operation and this means that the electrical cord in the back of the base has to be tied to the connections inside the handle.
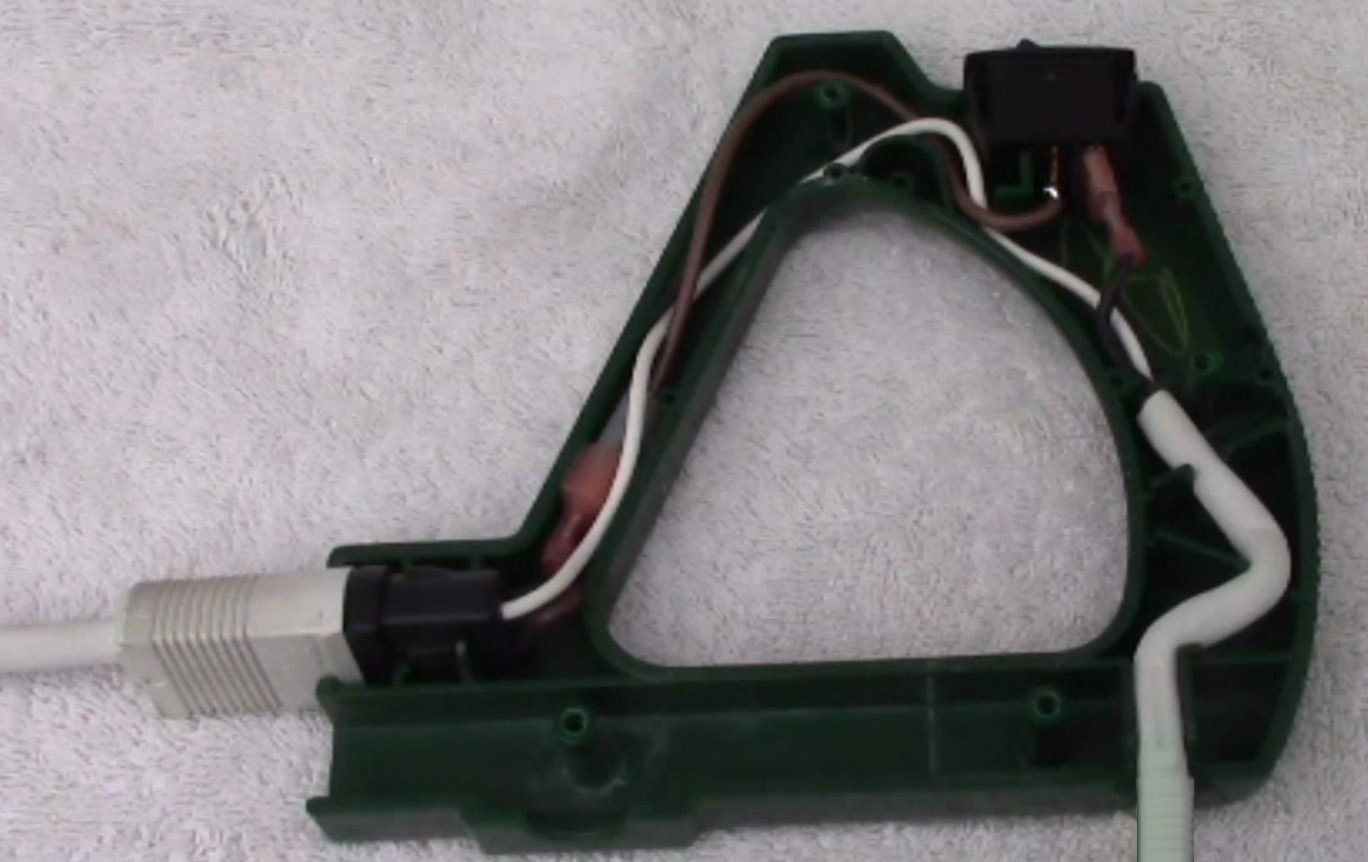
Next, the electrical cord is attached; it connects the machine to a power outlet.
The final assembly of the handle will be done by a user. He or she will put the upper handle into the connector on the top of the lower tube and fasten it with 2 screws.
This process is followed by fine details like adding the outer markings and attaching the inner disposable bag. The outer markings are preprinted on labels that reveal information such as operating instructions, motor power, manufacturer, and serial number.
The finished vacuum cleaner is then put in a carton after being enclosed in a plastic bag. The carton (which comes printed with promotional information) is also packed with a warranty card, user’s guide, and an information booklet.
The cartons are then sealed and stored for distribution and shipping.
Waste Materials/ Byproducts
The main manufacturers only produce supplies and substitute parts for sale to retailers and customers and hence do not produce true byproducts.
Defective injection-molded parts are mixed into new batches of plastic after being remelted; they must be mixed in controlled quantities. On the other hand, paper items can be recycled; they are manufactured by outside suppliers and can include bags and shipping materials.
Maintaining Excellence
Before being installed, the motors are bench-tested. Workers on the assembly-line as well as their supervisors are always on the lookout for partially assembled machines or defective parts; they can reject the machine if they find any assembly problems. During line manufacture, they can also remove machines for inspection from time to time. The vacuum cleaners are then inspected for quality after assembly. Before they are packed, the packing department also performs some final tests on selected machines.